.svg)
How to connect QuickBooks Online to your entity
1. After you create your account at https://app.bookkeep.com/signup you will have a new entity created and will be prompted to connect your accounting platform from the Connections view as shown below.

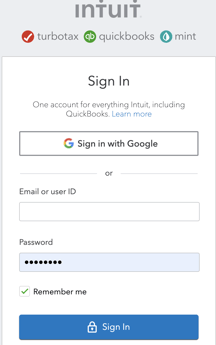
2. Click “Connect to QuickBooks” which will prompt a pop-up window to appear where you can enter your login credentials used to access your QuickBooks Online account.
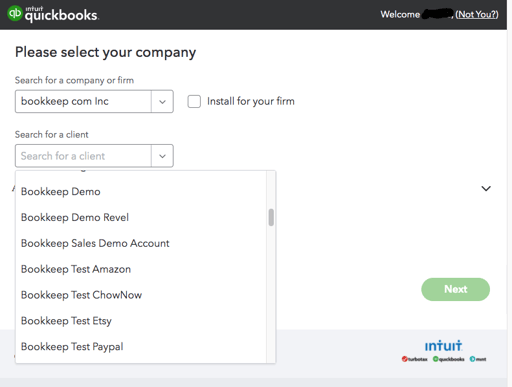
Note: if you have an accounting/bookkeeping practice with multiple clients, make sure you select the appropriate company file for the organization/client you are setting up on Bookkeep as shown below.
3. Upon successful completion of the previous step, your connection will be displayed on the “Accounting” tab on the Connections view, which gives you a few options as discussed below:

- Refresh – this button is useful when creating new accounts or tax rates in your QuickBooks which will be available for mapping to your connected apps.
- Test – this button will test if the QuickBooks connection is still operating and functional.
- Delete – this button allows you to delete the connected QuickBooks account.
- Autogenerate Quickbooks Doc Number - with this slider set to GREEN as shown above, Bookkeep will generate the doc number for each entry posted into QuickBooks.
After the above steps are completed, you will need to connect your apps if you wish to start posting your financial data to your QuickBooks account.
Note: You can choose to skip connecting accounting and still connect your apps to bring the data into Bookkeep and preview it without posting to accounting. If you do so, you will not be able to map the incoming financial data to your accounting platform accounts until this accounting connection is established.
If you have any questions, please contact support@bookkeep.com.