.svg)
Walkthrough of how to get Blaze up and running with Bookkeep.
To begin utilizing Bookkeep's automated journal entries for Blaze, you must connect the Blaze account that you would like to import data from. Below we will go step-by-step through the setup process to ensure you are ready to go!
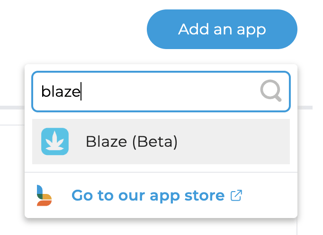
1. First connect your Blaze store by visiting the Connections/Apps View and clicking Add an App (top right) to locate Blaze:
2. Clicking on the icon above will generate a pop-up connection window. After clicking "Connect now", you will see a window to enter the developer key from Blaze.

3. In order to proceed with the Blaze connection, you will need to obtain the developer key based on the instructions found here: https://support.blaze.me/hc/en-us/articles/360024795293-Retail-Generating-Developer-Keys-and-3rd-Party-API-Integration-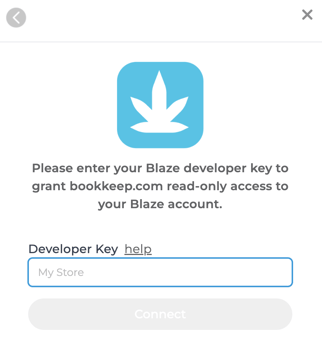
4. Now that your Blaze store is connected to Bookkeep, you will need to complete your mapping to the accounts from your Accounting Platform (e.g. QuickBooks Online) which can be found by clicking "Configure". In order to map your accounts, an accounting must first be connected from Accounting tab below.
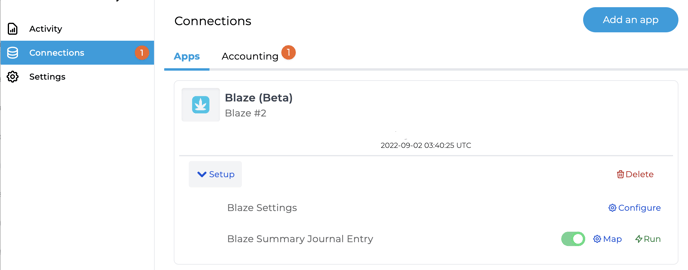
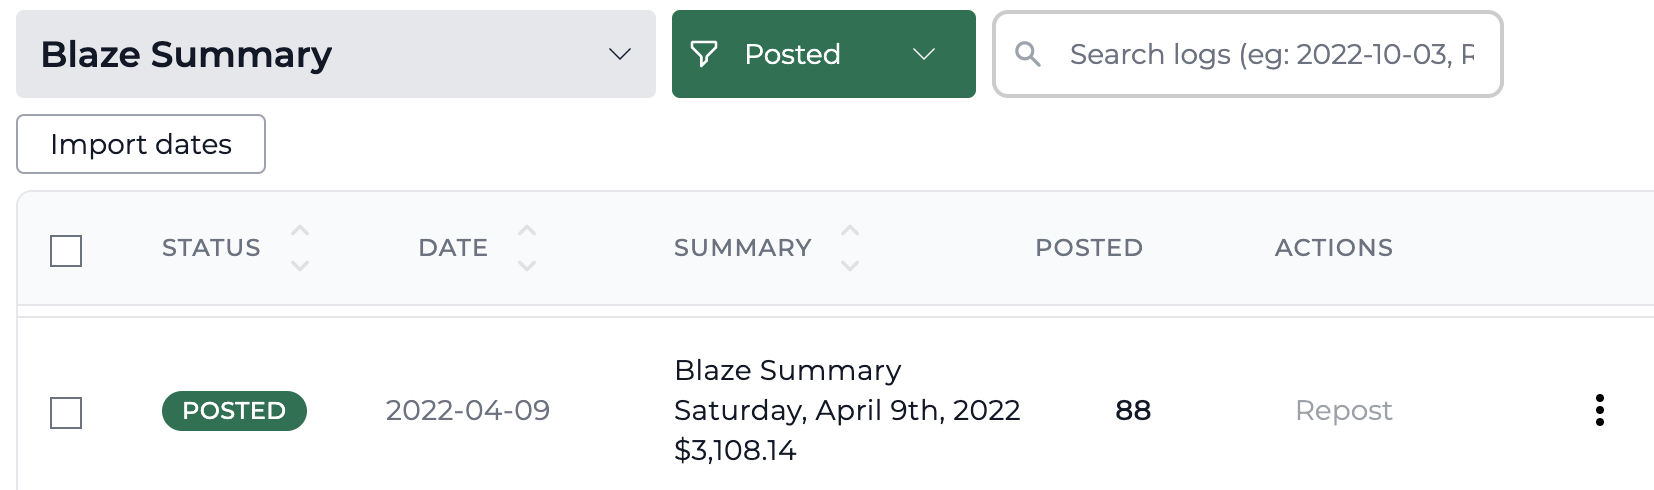
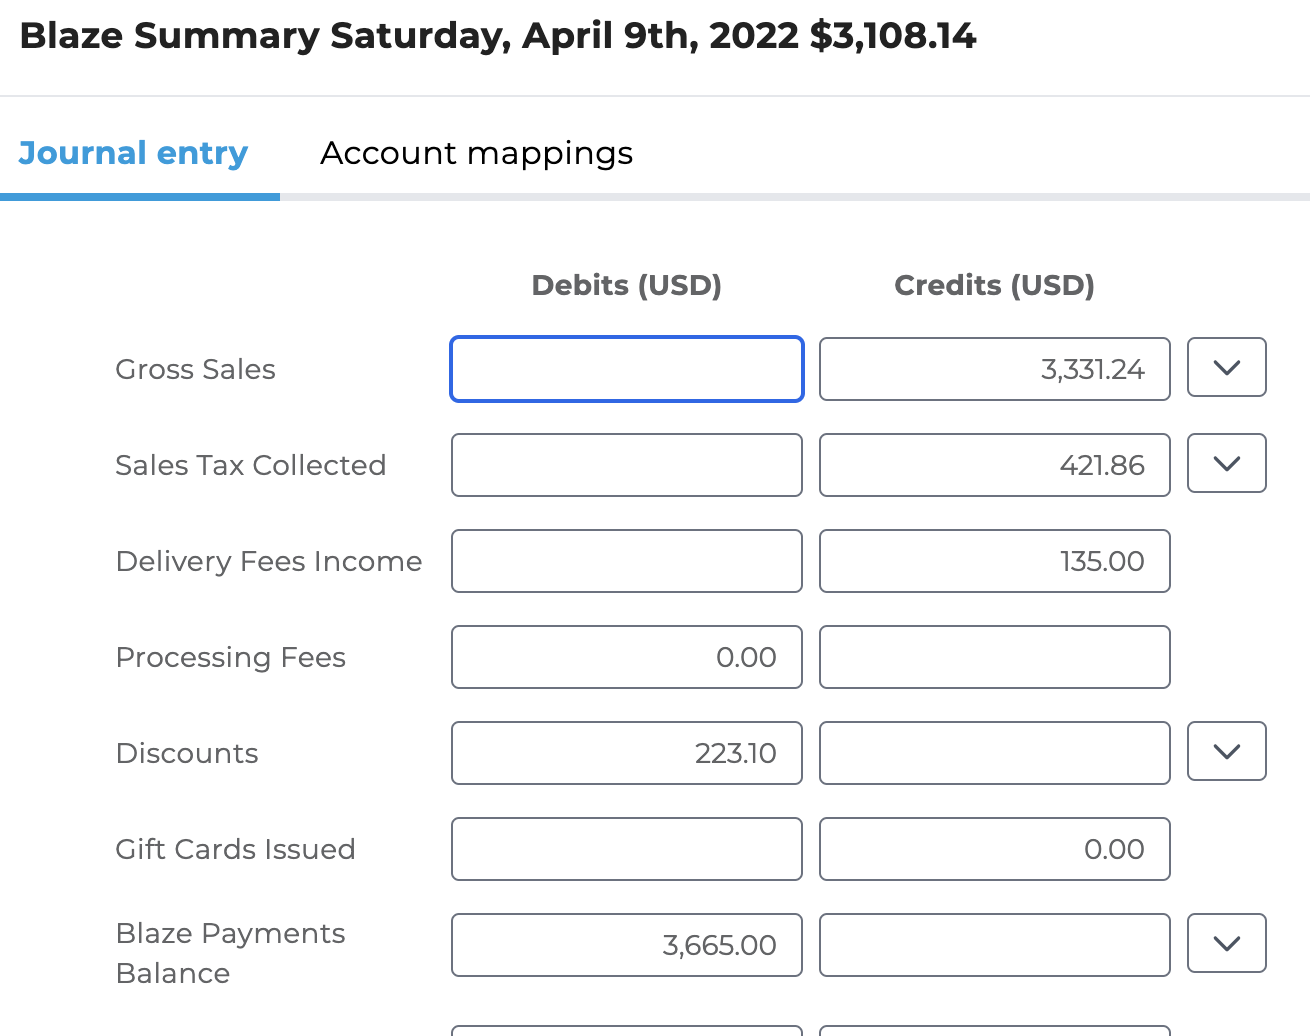
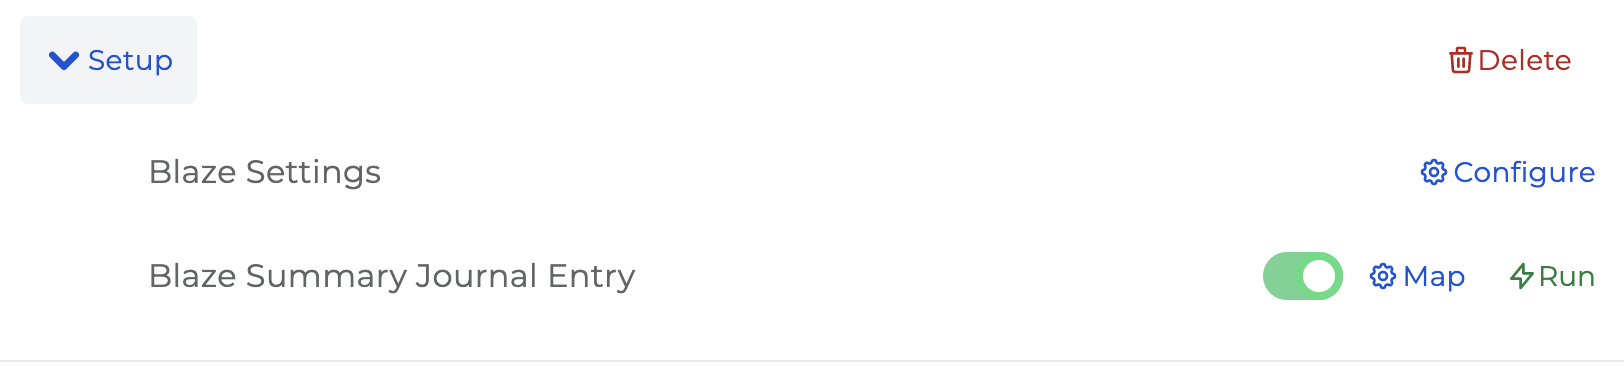
5. Blaze Summary journal entry mapping: This journal entry posts the sales completed during the prior day as one summarized journal entry for the entire day. When completing this mapping, you will click "Setup" and then "Map" to select the specific accounts pulled in from your accounting platform which will receive the data from Blaze (clicking Refresh below will pull in the latest accounts from your accounting platform if you made recent changes)
6. After completing the needed journal entry mapping, you can set the journal entry to ON which will begin posting a daily journal entry for each starting on the next day.
7. Once you have mapped the necessary journal entry templates and set them to ON, you are good to go! You will see journal entries begin posting to your accounting platform the next day!